

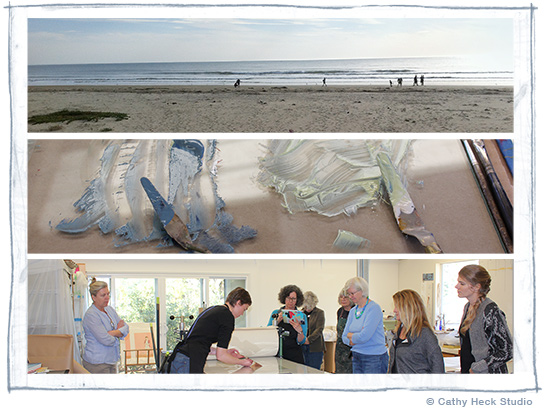
Our printmaking-in-heaven class in Santa Barbara is over and Ellen and I are back in our respective studios–renewed, rejuvenated and remembering the fun. The Rusty Barn was an amazing place to make art. And, Ellen was a thoughtful teacher for the Combination Woodcut and Drypoint Workshop held last weekend for a group of talented artists. Here is the story of our three-day printarama from the perspective of the mom-student and daughter-teacher.
AN INTERVIEW WITH EACH OTHER
Cathy: Ellen, I know it’s probably hard to choose, but who would you say was your favorite student?
Ellen: Well, Mom … it was definitely you.
Cathy: Are you just saying that because I brought you some Peeps?
Ellen: No, you really did listen carefully, and follow instructions … most of the time.
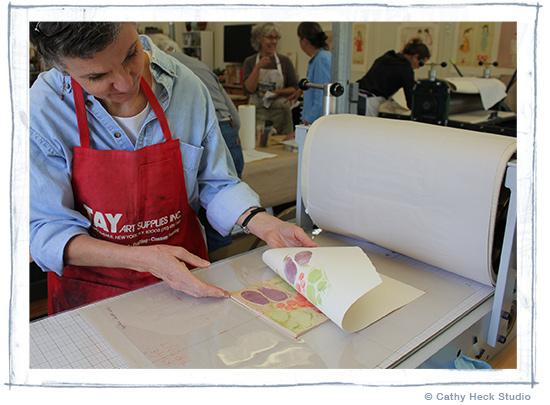
Photo below: Cathy pulls a woodblock print … mostly following directions–my print is sideways and on back of paper. This does not happen again. Learning from mistakes is a silver lining.
Ellen: Mom, can you tell us what you learned about printmaking in pictures and words?
Cathy: I will be delighted to share. First, the teacher (Ellen) asked us to introduce ourselves and tell a bit of our art histories. I was definitely the least experienced in printmaking, but I had come to the class with enthusiasm and some new tools. (More about my tools later.)
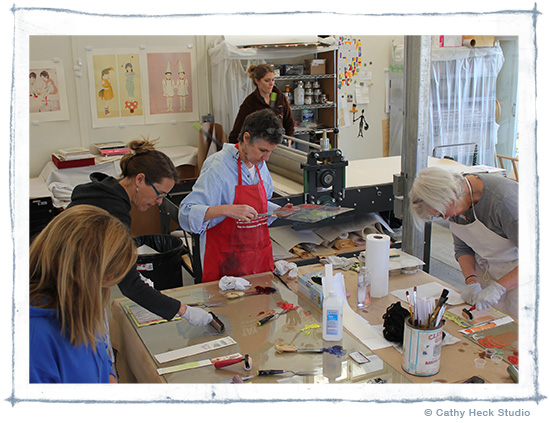
Photo below: Some of us working at one of the inking tables in the bright and cheerful art barn.
Cathy: First we learned how to use our drypoint tools to etch a copper plate. We also learned that the soon-to-be-extinct phone book page is an excellent tool for wiping down the copper before printing.
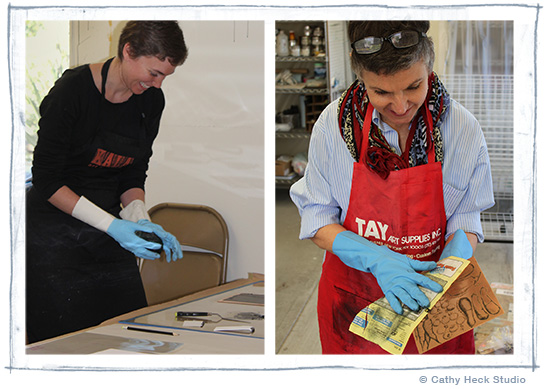
Photo below left: Ellen demonstrates copper plate prep with a smile. Below right: My plate becoming shiny bright from the K section of the Santa Barbara phone book.
Ellen: Mom, you really picked up where you left off thirty years ago with the drypoint tools … how did you like the new experience of woodblock printing?
Cathy: Not my favorite. I was definitely more comfortable carving into copper than into wood. I will go ahead and admit right here that when I started the woodcutting stage, my wood splintered all over the place. I quickly called the teacher: “Ellen, I don’t think I can be a woodcutter.” Ellen said, “Let me see your tools. Oh dear, Mom, I think you accidentally bought jewelry carving tools.” I replied, “Uh-oh.” Ellen gently assured me: “But don’t worry. I can set you up with some proper tools.” (Whew! It’s good to know the teacher.)
Here are some photos below of my painstaking and painful wood carving attempt. (And these are even with the correct tools!) I realized after the last wood curl that I had not been making the proper rocking motion needed for pleasurable wood carving zen. I was more of a wood hacker than wood carver. I can assure you that I will not be quitting my day job!
Photo below left: chopped eggplant. Photo below right: the textbook method for NOT cutting wood to avoid gouging other hand. (Fortunately I had not gouged my hand … knock on woodblock.) Lower photo: Inking the wood block.

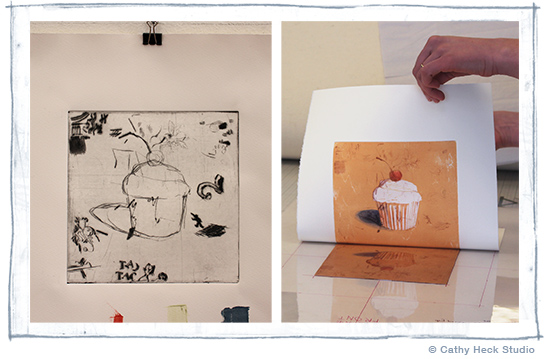
Ellen: Although you were sort of fighting your woodblock, didn’t you have fun with the final surprise prints?
Cathy: I did! I love that about printmaking. No matter how much one tries to control the line, the plates and inks add their own artistic marks. It was a collaboration between me and my materials … the artist, the smooth copper plate, the jiggety line of the drypoint tool, and the stubborn wood block that would not mind me. Plus, remembering to write backwards!
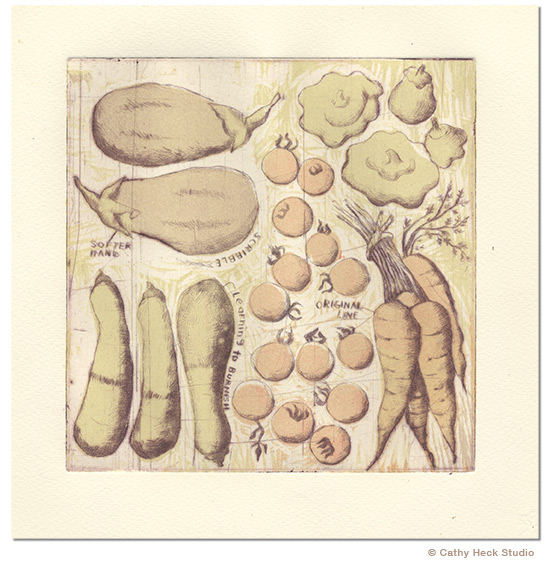
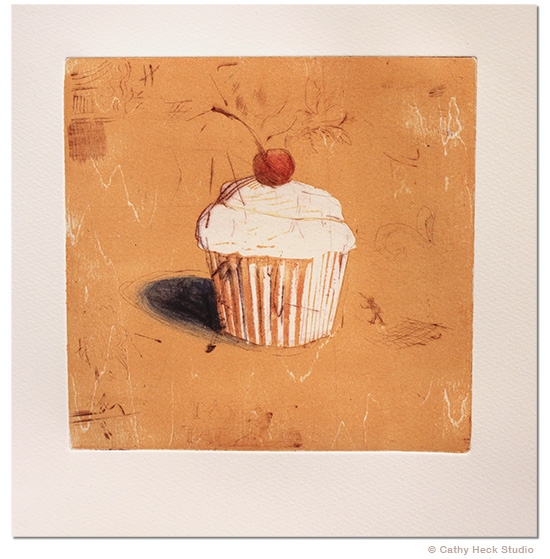
Cathy: I think my favorite print of the day was the one with all of our practice marks and your excellent cupcake for demonstrating all the different phases. What did you think of that one?
Ellen: I know. That’s what is so great about printmaking … even a sample print might turn out to be a masterpiece!
Photos below: Our sample piece upon which all of the artists practiced using different tools and pressures. The final print demonstrates that removing or softening lines (with burnishing) can be as important as creating them.
Cathy: What was your favorite part of teaching the three-day print workshop?
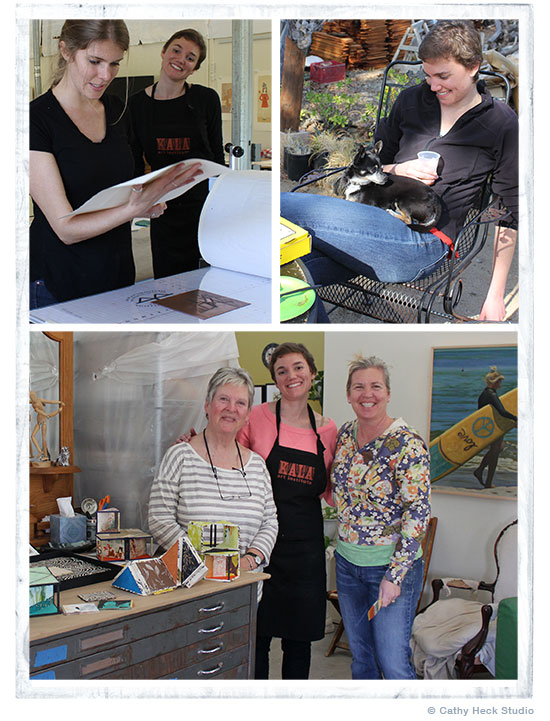
Ellen: There were so many favorite parts. I loved getting to meet new artists (now friends) and watch them successfully engage with this uncommon combination of printmedia. The variety of responses to this technique was inspirational, and I know I learned a lot. It was also great to be able to spend quality time with Leslie Lewis Sigler, who was responsible for introducing me to Holli Harmon and Mary Ince, and who was a huge part of Cathy Heck Studio back in the days before the Heck sisters joined up.
Photo lower left: Ellen cheers on Leslie as she examines her first reveal. Lower right: Ellen bonding with Bruiser, who was not supposed to receive treats. (We are pretty sure Ellen accidentally gave some snacks to this cute studio pup. Lower photo: Ellen standing between new friends, Mary Ince and Holli Harmon, who are the artists-in-residence of the wonderful Rusty Barn studio.
Cathy and Ellen: Thank you to everyone who participated in the art learning, art making and art sharing. We loved every minute.
2 Comments
-
Looks like fun!! Shall I begin saving all of our old phone books for you printmakers?
Can’t wait to see Cathy’s prints in person! -
Maybe so! I wonder when they will stop printing yellow pages…