It’s with great joy that I’m writing you from a new Cathy Heck Studio West (a.k.a. California Studio) closer to Berkeley and dangerously close to the Gourmet Ghetto. We moved over the holiday! There are still mobile heaps of miscellanea in a corner of each room, but those large-scale not-entirely-essential projects are slowly being crossed off the list… and here’s one right now!
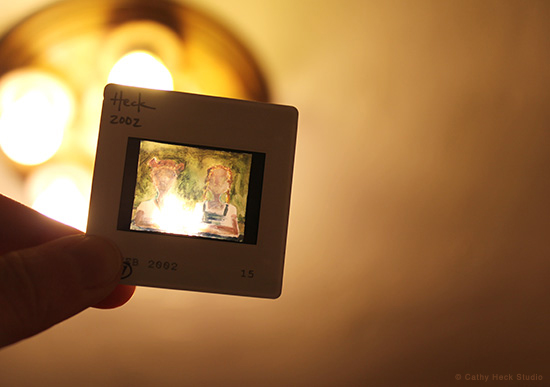
Are you 30 or older? Do you have a bunch of slides of your artwork that you made to apply to art school/open calls which you can’t bear to throw away and which have moved with you to four different apartments in a Kodak carousel? Then you know how impossible it is to throw away an object as small and beautiful as a slide. Even in an age when we have all of these amazing hand-held devices, slides are still kind of magical – intricate glowing worlds inside of tiny plastic squares, no batteries required.
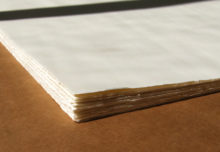
So, I decided to turn mine into a lamp shade, and we already had a cheap white Target lamp that would be perfect for the upcycle. I cut a piece of frosted duralar to the size of the shade (plus some for overlap) and marked small stripes of glue along the flat plastic where the edges of the slides would meet in rows.
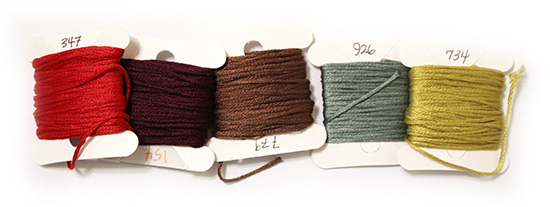
The slides line up pretty nicely using their perforations as match-up points, and I think you could just use glue to keep everything together if it was flexible enough, but I decided to stitch through the edges with embroidery thread as well. It seems like the thread keeps everything even and secure, and you can match the colors to pick up accents in your slides.
When the new flat slide shade was finished, I cut the old white shade from the metal bracket that holds it to the post, and glued the new shade to the bracket along the base. **CAVEAT** Cathy is concerned that it might be a fire hazard to have a shade that is made of duralar and slides, so I think it would look just as good to glue the plastic to the outside of the shade itself and feel safer knowing that the State of California has inspected the part of your lamp closest to the bulb. I would feel safer too, however, our particular shade was mangled in the move, which was catalyst number two for this crafty little endeavor…
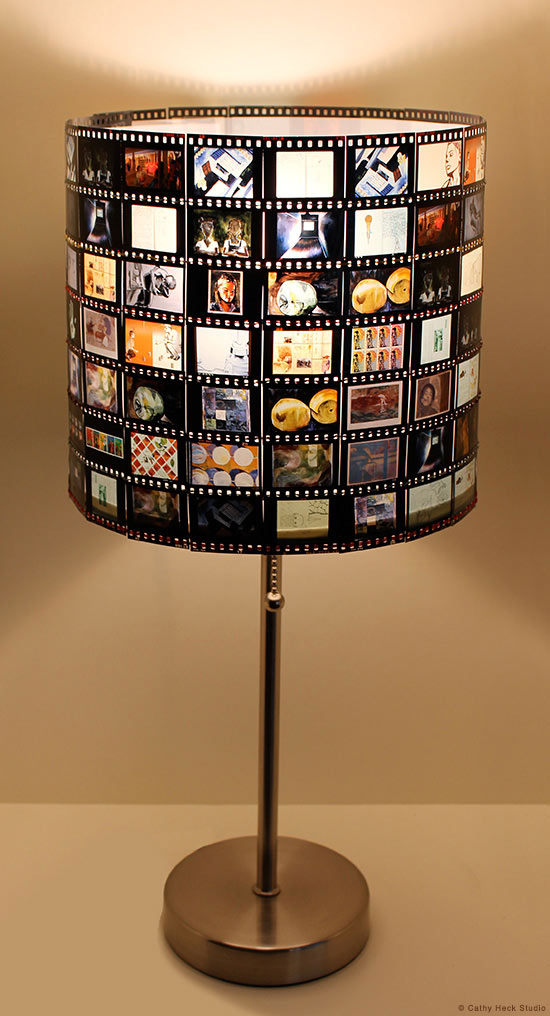
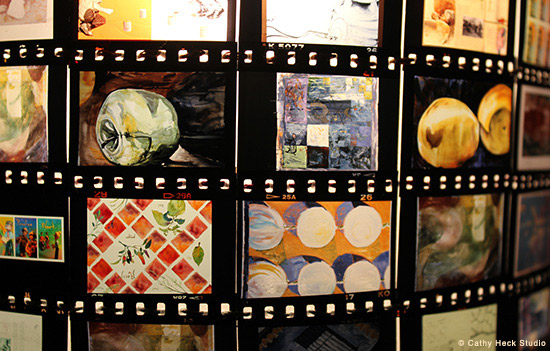
So here it is, the new slide film lamp shade.
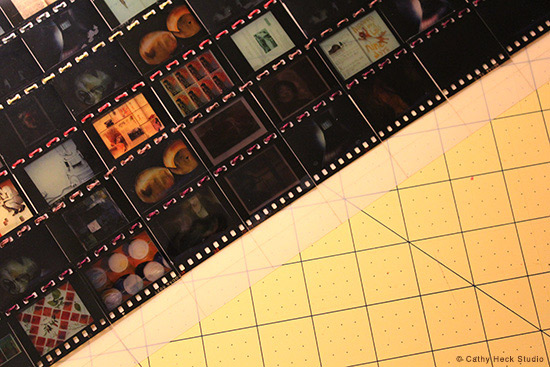
It would also be a lot of fun to do this with negatives from old family photos, because even though it looks nice from far away, there is a tendency to want to get up close and look at all of the tiny stories:
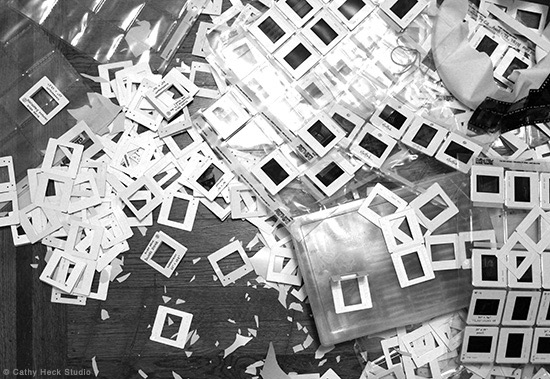
And another happy ending – you can throw away all of these:
Although, I’ve seen some people do this same project with the slide cases as well. It seems like the lamp would not glow quite as much as it would if you got rid of them, but they’re still intriguing. There are several here on etsy for example.
The only thing I would change next time if I did this again would be maybe to overlap each slide horizontally by one perforation. That way, there would be no gaps of light between slides and the only glowing portions would be the images themselves. It wouldn’t be an issue with negatives, though, since they came as longer strips. I might have to raid the Pre-Millenium Heck Family Photo Archive (a.k.a. closet in the guest room) next time we’re together in the Austin studio…
4 Comments
-
Wow. What a wonderfully creative and personal idea. I hope I get to see this and study at the slides with my own eyes. Beautiful.
-
This is amazing! I (like the Hecks) have a slew of old negatives in a box…I can’t wait to try this…or have one of the craftier members of my family try it!
-
So very cool – I’ll be joining El in this project :)
-
Thanks, guys! It would be fun to have a lamp party. There’s a lot of cutting and stitching, which would be so much better with company! (And we could look at everyone’s negatives.)


